Let’s see, how to create.
You may also see my this article : How to Create Crest Logo Tutorial in Photoshop
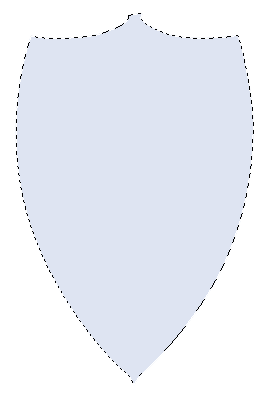
[1]-First of all Open New Document of Custom size, Height & Width 500×500 pixels, Resolution 72 & Mode RGB Color.[2]-Now Open New Layer & then create the following shape with the help of ‘Pen Tool’ & press right click > make selection.
[3]-Now fill the #’dee4f2′ color in selection area.
[5]-Now create the selection at new layer & fill with #’36404a’color.
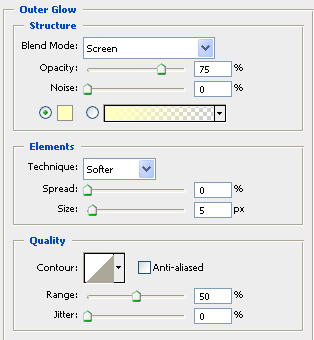
[6]-Now go to Blending Options,& use the following settings
Photoshop Technique-How to use the Blending Options feature.
[7]-Now create the selection at new layer & fill with #’36404a’color.
[8]-Now take the ‘Brush Tool’ create the shading as shown above step [4].
[9]-Now go to Blending Options,select Drop Shadow,Stroke & use the following settings
Photoshop Technique-How to use the Drop Shadow & Stroke feature.
[10]-Now create the selection at new layer & fill with #’36404a’color.
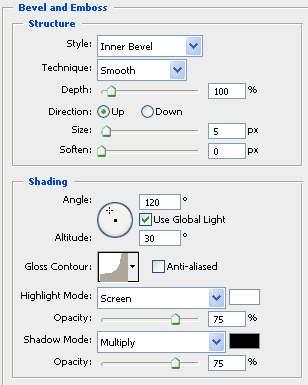
[11]-Now go to Blending Options,select Bevel & Emboss,Contour & use the following settings
Photoshop Technique-How to use the Bevel & Emboss,Contour feature.
[12]-Now your image should look like as shown below.
[13]-Now go to the Blending Option & give the following setting of Drop Shadow.


