Let’s see, how to create.
You may also see my this article : How to Create Crest Logo Tutorial in Photoshop
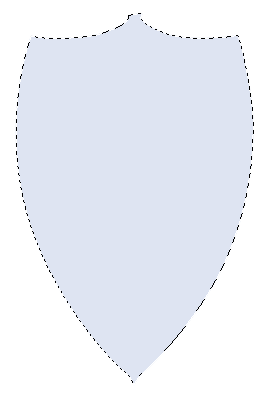
[1]-First of all Open New Document of Custom size, Height & Width 500×500 pixels, Resolution 72 & Mode RGB Color.[2]-Now Open New Layer & then create the following shape with the help of ‘Pen Tool’ & press right click > make selection.
[3]-Now fill the #’dee4f2′ color in selection area.
[5]-Now create the selection at new layer & fill with #’36404a’color.
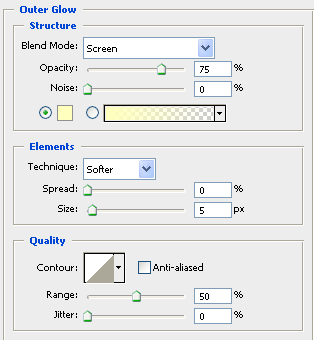
[6]-Now go to Blending Options,& use the following settings
Photoshop Technique-How to use the Blending Options feature.
[7]-Now create the selection at new layer & fill with #’36404a’color.
[8]-Now take the ‘Brush Tool’ create the shading as shown above step [4].
[9]-Now go to Blending Options,select Drop Shadow,Stroke & use the following settings
Photoshop Technique-How to use the Drop Shadow & Stroke feature.
[10]-Now create the selection at new layer & fill with #’36404a’color.
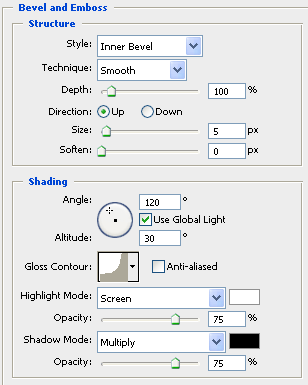
[11]-Now go to Blending Options,select Bevel & Emboss,Contour & use the following settings
Photoshop Technique-How to use the Bevel & Emboss,Contour feature.
[12]-Now your image should look like as shown below.
[13]-Now go to the Blending Option & give the following setting of Drop Shadow.


.png)


This comment has been removed by a blog administrator.
ReplyDeleteThis comment has been removed by a blog administrator.
ReplyDelete
ReplyDeleteYou are sharing a wonderful article. It was great post. Keep more share your updates.cool logo ideas
Download free photoshop psd vectors of all types for free CLICK HERE Free Business cards Templates Download
ReplyDeleteThank you so much admin for uploading such amazing content with us your blog is really helpful for me.
ReplyDeleteThis looks like an informative and helpful guide to creating logos.
ReplyDelete